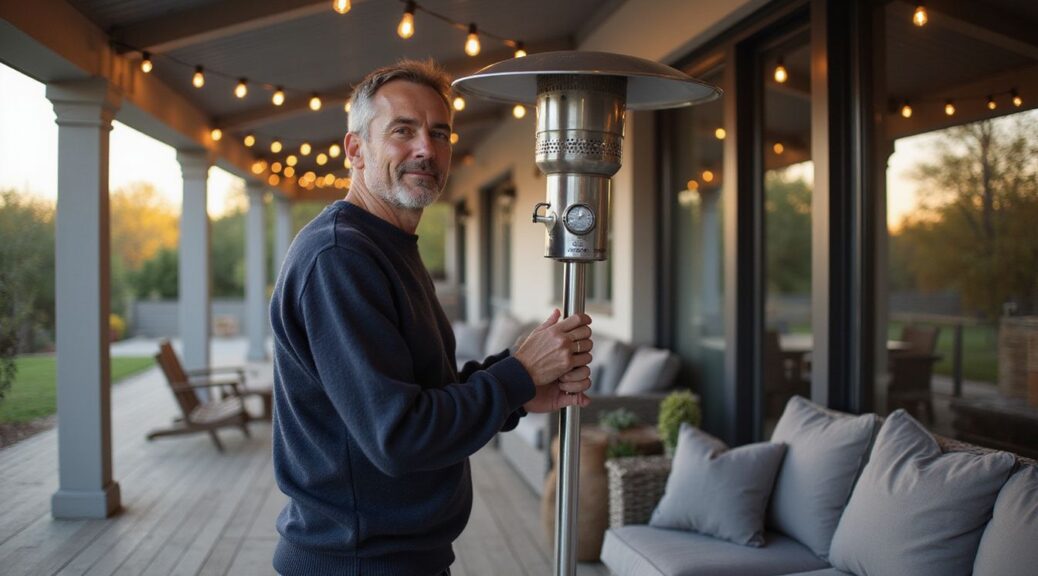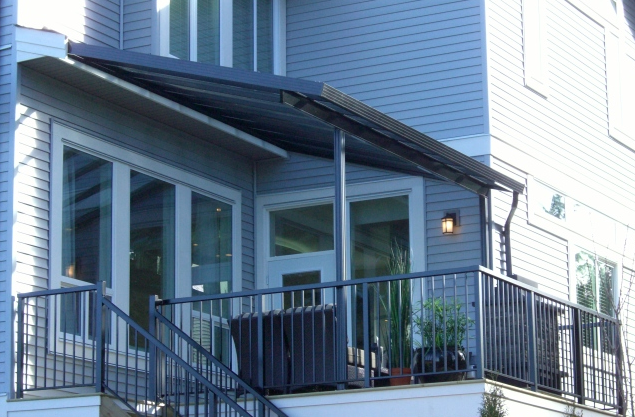
Elegant glass patio covers are an exceptional addition to any outdoor space, providing a rare blend of aesthetic appeal and high-performance functionality. These structures do more than just shade a deck; they allow for uninterrupted views of your surroundings while flooding adjacent indoor rooms with natural light.
In rainy and cloudy climates like Surrey and the Lower Mainland, these covers must combine precise engineering, corrosion-resistant framing, and high-quality safety glass to deliver year-round usability.
This guide explains the primary advantages of transparent roofing, popular design variations from modern verandas to frameless systems, and the specific customization possibilities available to homeowners.
Readers will learn how high-quality materials like powder-coated aluminum and tempered safety glass perform in heavy rain, what features define a minimalist aesthetic, and how professional installation ensures a lasting connection to nature. By the end of this article, you will be able to evaluate which glass solutions best transform your backyard into a sophisticated outdoor retreat.
Key Takeaways
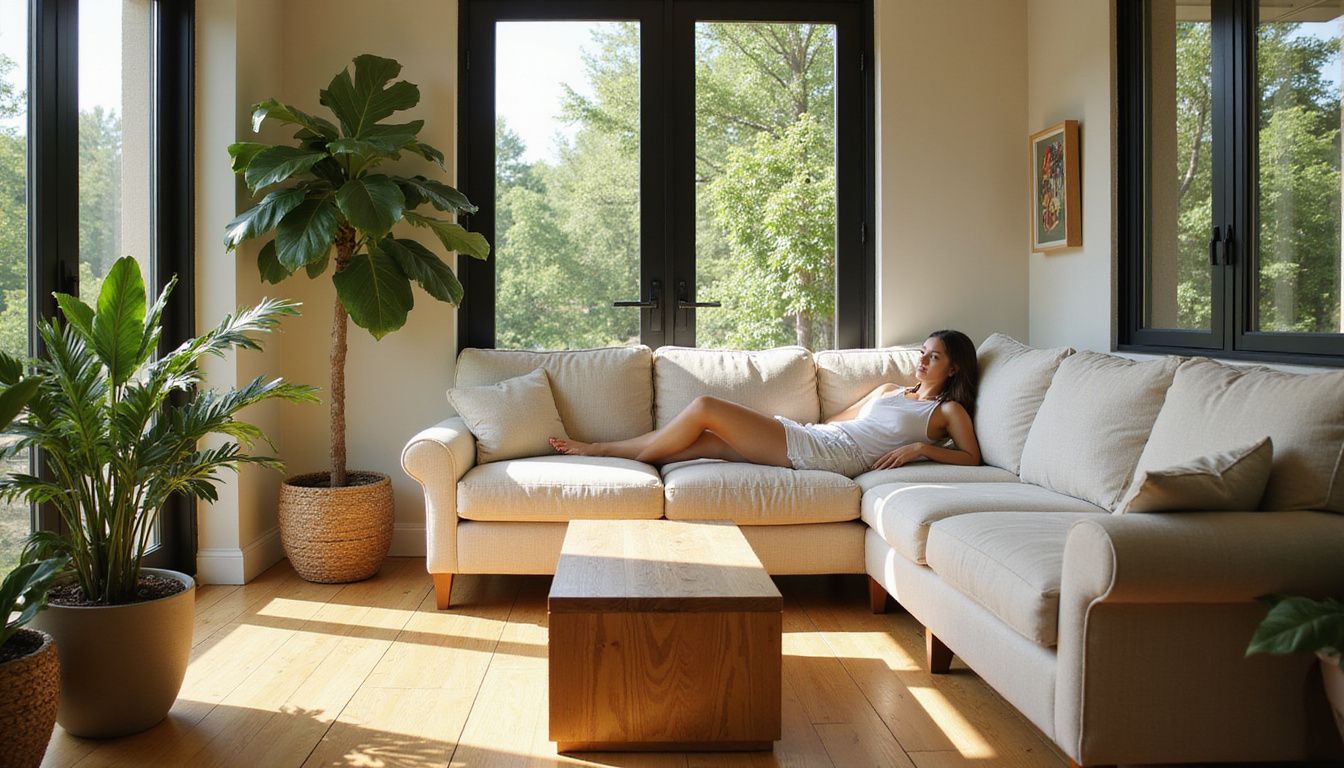
- Maximum Natural Light – Glass covers brighten both your patio and home interior, creating an inviting atmosphere that feels open and airy even on cloudy days.
- Unobstructed Views – Transparent roofing ensures your connection to the landscape remains uninterrupted, making outdoor spaces feel significantly larger.
- Year-Round Protection – Engineered to withstand BC’s heavy rain and snow, these covers keep your vinyl deck and furniture dry in every season.
- Premium Aesthetics – Modern glass designs, including frameless and aluminum-framed verandas, offer a high-end finish that complements contemporary architecture.
- Long-Term Durability – With a 10-year material warranty and a 3-year installation labor guarantee, these structures are built for longevity.
- Property Value Boost – Adding a permanent glass structure increases usable square footage and curb appeal, making it a wise investment for future resale.
- Low Maintenance – High-quality glass and aluminum require minimal upkeep to stay clear and vibrant for decades.
Why Choose Glass Patio Covers for Your Outdoor Space?
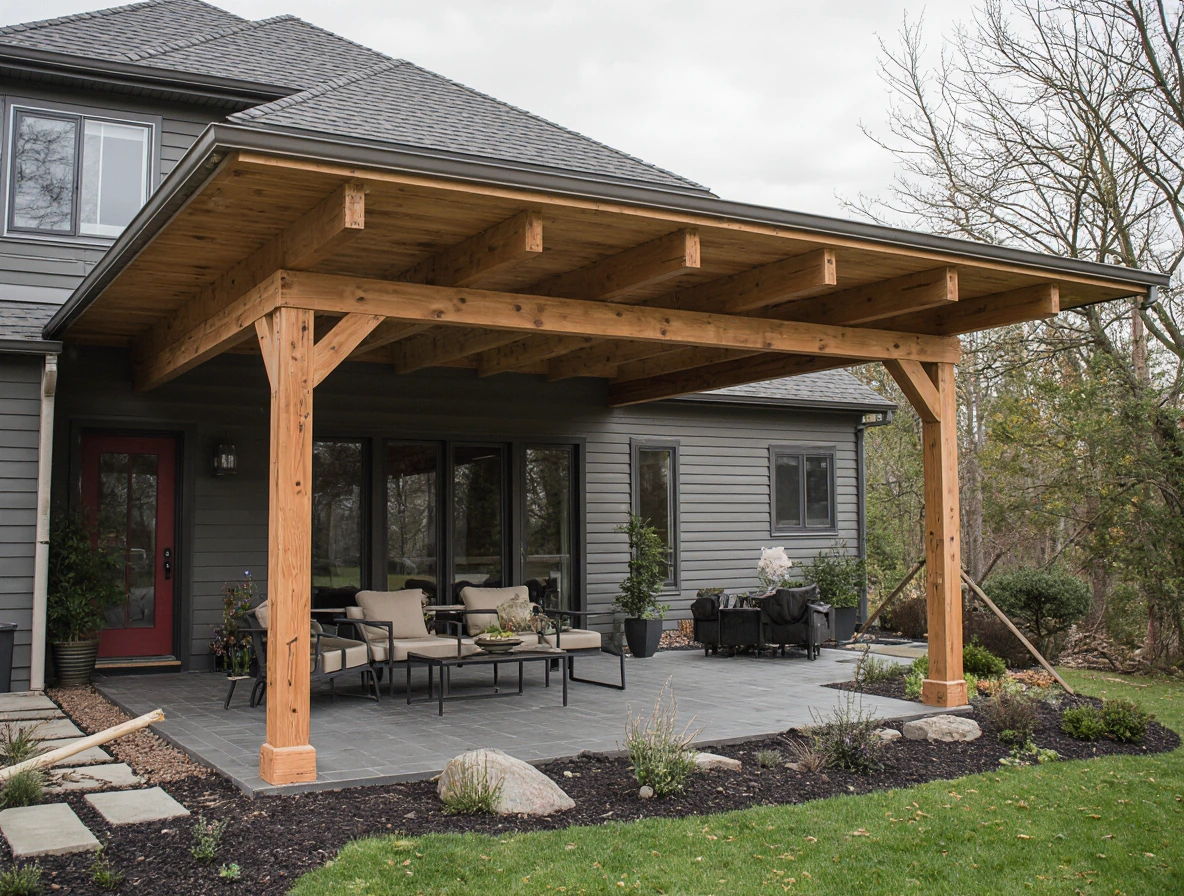
Glass patio covers are an excellent choice for enhancing outdoor spaces due to their exceptional durability and unmatched aesthetic appeal. Unlike solid roof covers that can create dark “cave-like” environments, glass allows you to maintain a bright, high-energy vibe throughout your property.
These structures are constructed from high-quality materials designed to withstand diverse weather conditions, ensuring reliability during the intense storms often seen in British Columbia.
Choosing a glass system over a traditional awning or solid roof often comes down to the desire for a seamless transition between indoor and outdoor living. Because glass is transparent, it does not visually “shrink” your yard; instead, it expands the perceived boundary of your home. Homeowners seeking a high-end look frequently opt for glass because it elevates the architectural profile of the house without adding heavy visual bulk.
Furthermore, the materials used by CWX Patio Covers are engineered for the specific demands of the Pacific Northwest climate. With a 10-year material warranty and a 3-year installation labor warranty, homeowners can trust in the craftsmanship and quality of these structures. This peace of mind is essential when investing in a permanent addition to your home that will face years of sun, rain, and fluctuating temperatures.
How Do Glass Patio Covers Maximize Natural Light and Outdoor Views?
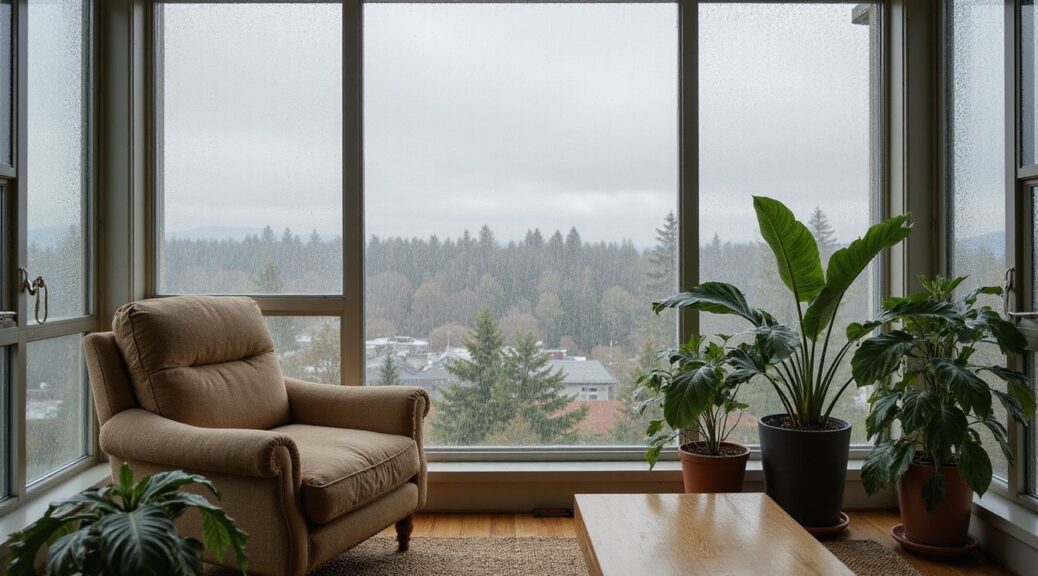
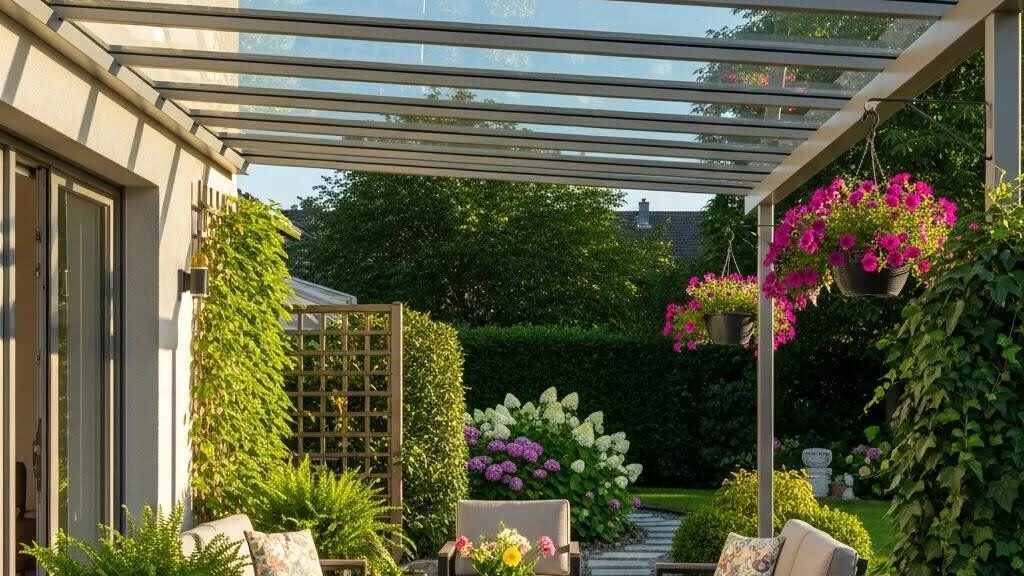
The most compelling reason to install a glass system is its ability to maximize natural light penetration. Clear patio roof designs allow virtually all available sunlight to filter through, creating bright and inviting atmospheres that improve the overall vibe of your home. This abundant light doesn’t just benefit the patio itself; it also flows through your windows into the interior of your home, reducing the need for artificial lighting during the day.
Natural light has a way of making spaces feel more vibrant and alive, which is particularly valuable during the long, grey winters of the Lower Mainland. By installing a glass cover, you ensure that even on the cloudiest days, your outdoor living area remains a bright sanctuary. This transparency allows for unobstructed views of your garden, pool, or the surrounding mountains, ensuring you never feel closed off from the environment.
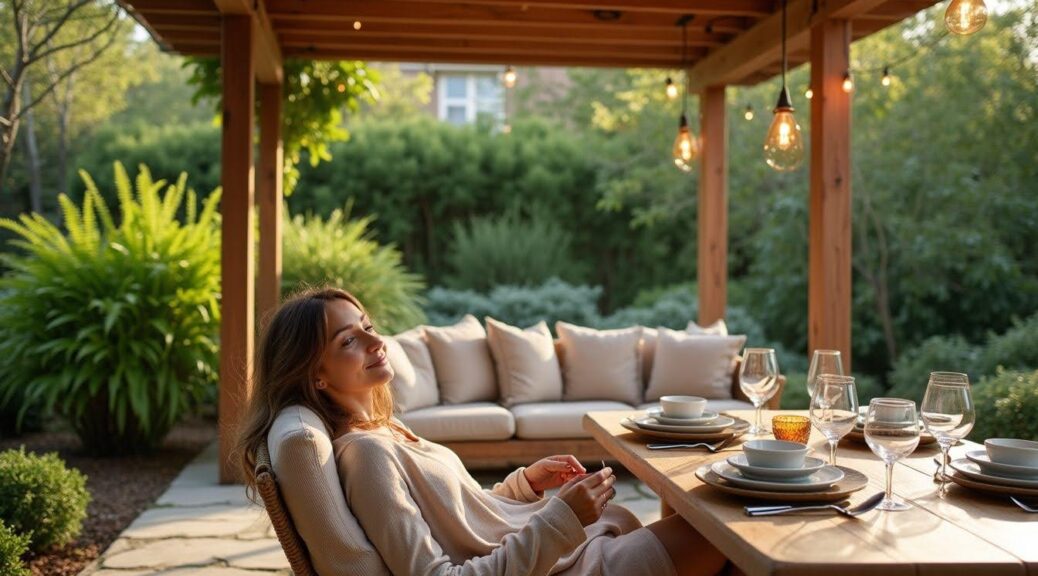
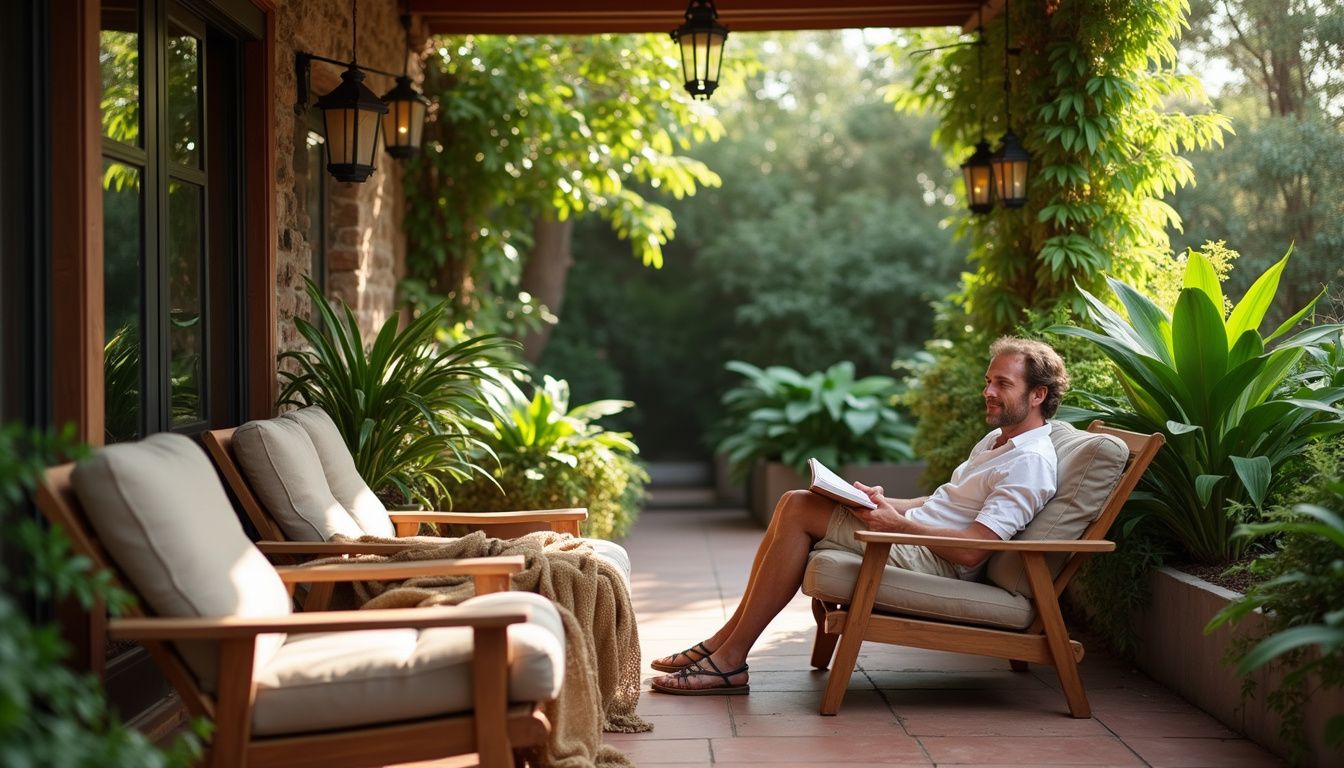
The connection to nature provided by these covers contributes to a more enjoyable outdoor experience for guests and family alike. Whether you are hosting a summer evening dinner or enjoying a quiet morning coffee, the sky remains visible above you. This open-ceiling feel provides a sense of luxury that solid roof structures simply cannot replicate, making your patio covers a true architectural focal point.
What Weather Protection Benefits Do Transparent Patio Roofs Offer?
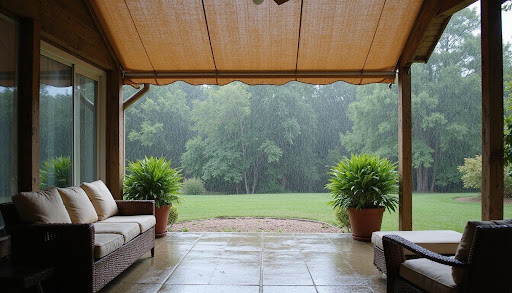
Transparent patio roofs offer significant weather protection benefits that extend well beyond simple shade. They are engineered to withstand heavy rain, intense sun, and even snow, ensuring that your outdoor space remains usable throughout the year. This durability enhances the longevity of your vinyl deck or patio surface by keeping it shielded from the constant cycle of moisture and drying.
With a glass patio cover, you can host gatherings or relax without worrying about the elements. The sloped design of these systems ensures that rainwater is efficiently routed into a hidden gutter system, preventing the pooling or splashing associated with lower-quality covers. This means your outdoor furniture, rugs, and decorative items stay dry and clean, reducing the time you spend on seasonal maintenance and storage.
Modern glass options also provide a layer of defense against the sun’s rays. High-quality tempered safety glass can be treated to filter out the majority of harmful UV light, which protects your skin while preventing your furniture fabrics from fading. This allows you to enjoy the “bright” vibe of the sun without the “harsh” side effects, creating a comfortable microclimate beneath the cover.
What Are the Popular Designs of Elegant Glass Patio Covers?
When it comes to glass patio covers, there are several popular designs that cater to different aesthetic preferences and functional needs. These designs not only enhance the beauty of your outdoor space but also provide practical benefits. Selecting the right design involves matching the frame style and glass type to your home’s existing architecture and your personal style.
Modern designs often lean toward minimalist profiles that emphasize the glass rather than the support structure. This approach is perfect for contemporary homes in Surrey and Vancouver that feature large windows and clean lines. By choosing a design that integrates smoothly with your home’s roofline, you create a cohesive look that appears to be part of the original construction rather than an afterthought.
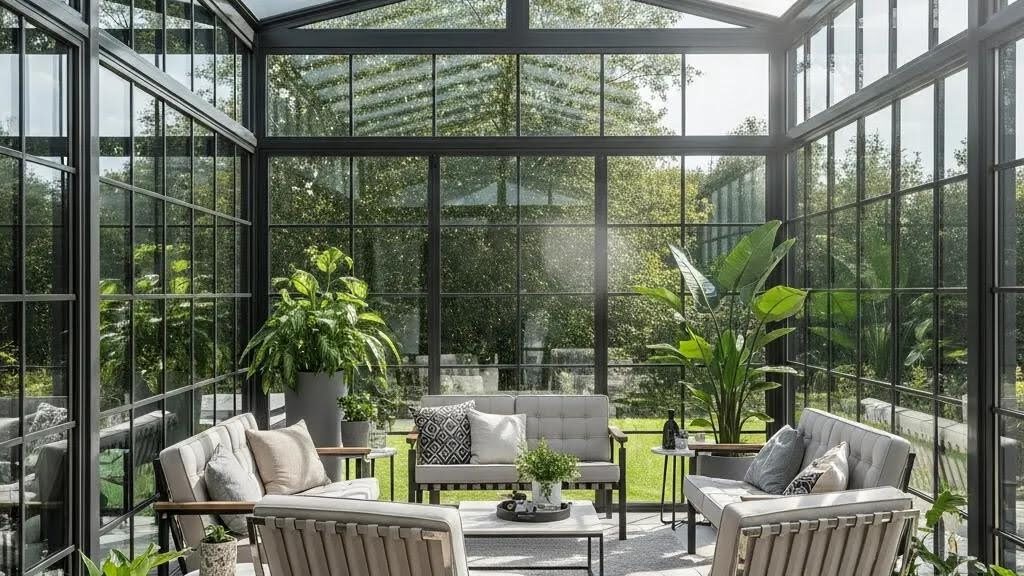
What Features Define Frameless Glass Patio Covers?
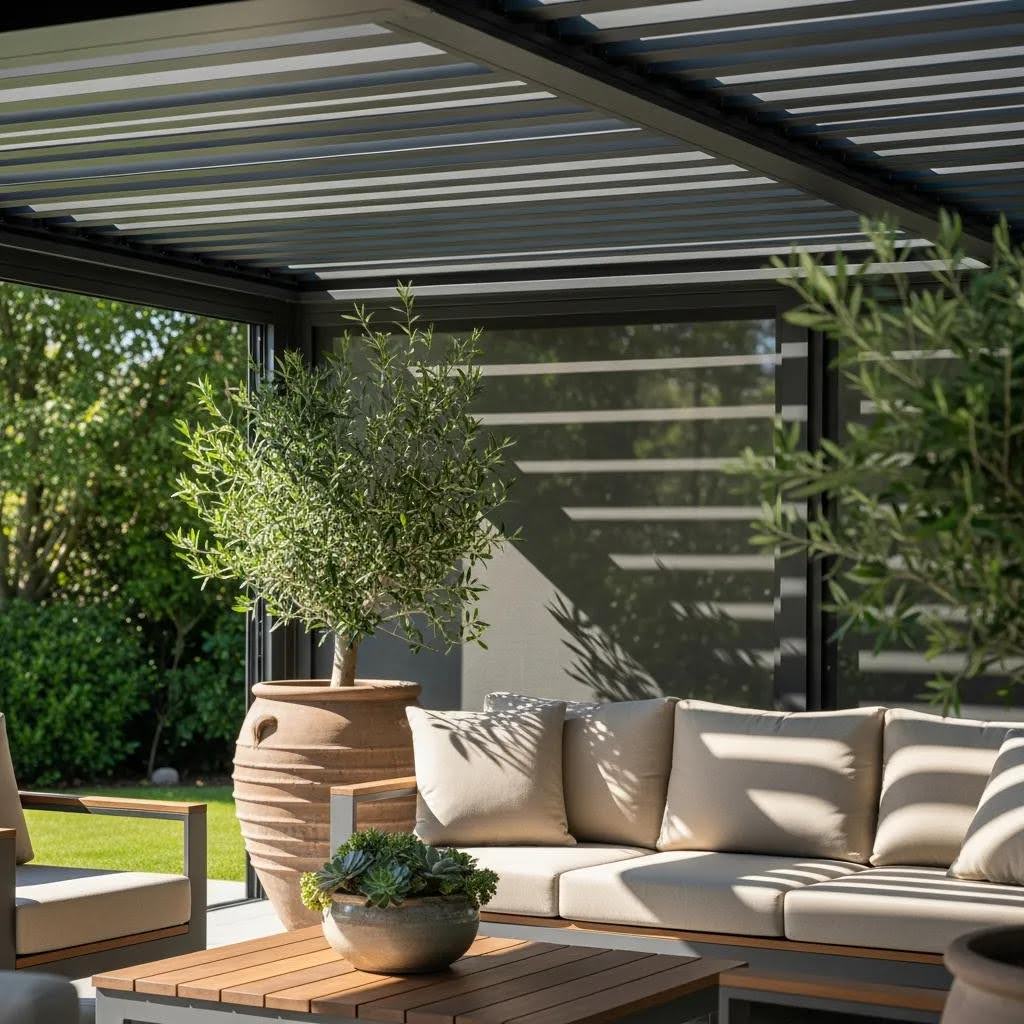
Frameless glass patio covers are characterized by their sleek and ultra-modern appearance. These designs eliminate the need for bulky horizontal or vertical frames between the glass panels, allowing for a truly seamless view of the outdoors. The use of heavy-duty tempered safety glass ensures structural integrity while maintaining an elegant, high-end look that is often found in luxury resorts.
This design choice is perfect for homeowners seeking a minimalist aesthetic that complements contemporary architecture. Without the visual distraction of framing, the roof appears to float above the patio, providing protection without any sense of confinement. While these systems require specialized engineering to ensure they can handle wind and snow loads, they represent the pinnacle of modern outdoor design.
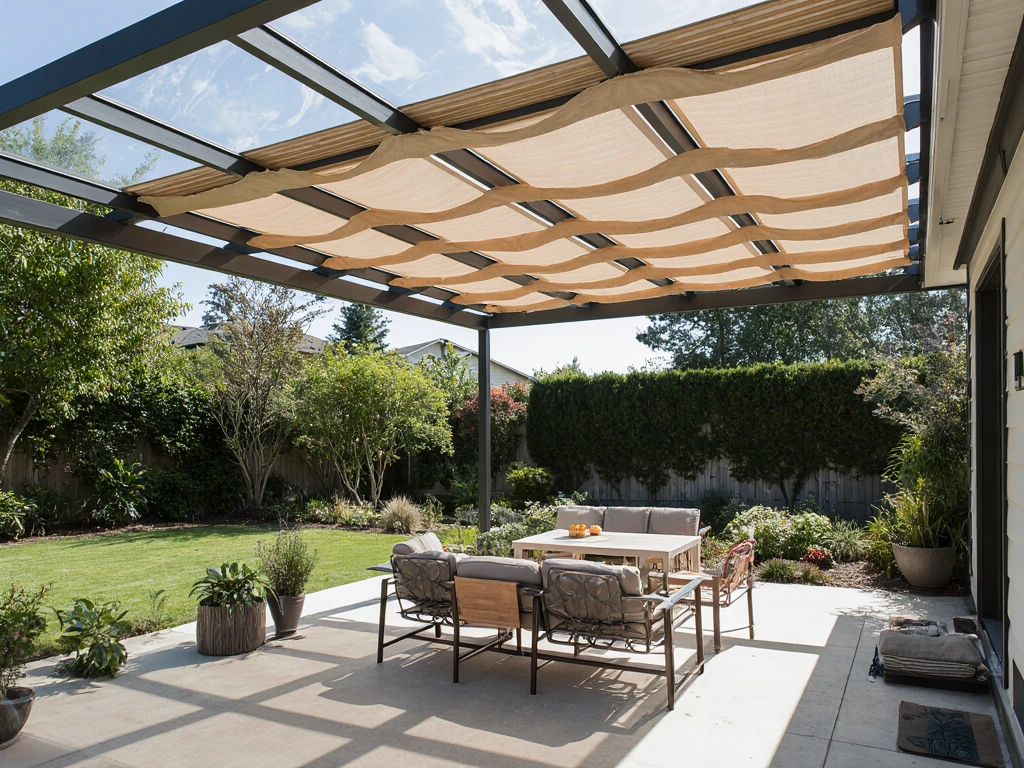
How Do Modern Glass Verandas Enhance Outdoor Living?
Modern glass verandas are another popular option, providing a versatile space that can be used for various activities. These structures often feature a structured frame, usually made of high-grade aluminum, that provides a classic and defined look. A veranda serves as a stylish extension of the home, effectively acting as an outdoor room that remains open to the fresh air while being fully sheltered from above.
The integration of glass into the veranda design enhances the overall aesthetic, making it a stylish addition to any home. Many homeowners use these spaces as year-round dining areas or lounges, often adding infrared heaters or LED lighting to extend their use into the evening. The structure provides a sense of permanence and architectural weight that elevates the entire property’s presence.
How Can You Customize Your Glass Patio Cover Design?
Customization is a key advantage of glass patio covers, allowing homeowners to tailor their outdoor spaces to their specific needs and preferences. From the color of the frame to the opacity of the glass, every element can be adjusted to create a unique solution. This flexibility ensures that your new cover will fit perfectly with your home’s color palette and your privacy requirements.
Working with experts like CWX Patio Covers allows you to explore options that you might not find in standard kits. Whether you need a cover that fits a non-standard corner of your house or one that requires extra height for a carpool area, custom fabrication makes it possible. This level of detail ensures that the final product is not only functional but also a true reflection of your home’s unique vibe.
Which Frame Materials Complement Glass Patio Covers?
When selecting a frame for your glass patio cover, aluminum is a popular choice due to its extreme durability and low maintenance requirements. It offers a modern look that pairs well with glass, ensuring that the overall design remains sleek and stylish. Unlike wood, aluminum will not warp, rot, or require painting, which is a major benefit in the damp environment of the Lower Mainland.
Aluminum frames are often powder-coated in a variety of colors, such as black, white, or charcoal, to match your home’s trim. This finish is baked onto the metal, making it resistant to scratches and fading from the sun.
For homeowners who prefer a more traditional look, wood frames can be used for a more classic appearance, providing warmth and character to the outdoor space, though they do require more regular upkeep.
What Glass Options Are Available for Safety and Style?
There are various glass options available for patio covers, including clear, tinted, and frosted glass. Clear glass is the most common choice as it maximizes visibility and light, creating that signature “open air” vibe. For those with a south-facing patio that gets intense midday sun, tinted glass can be an excellent choice to reduce glare and heat buildup.
Frosted glass offers privacy without sacrificing natural light, making it an excellent choice for more secluded outdoor areas or homes with neighbors nearby. Each option provides unique benefits, allowing homeowners to select the best fit for their needs.
Regardless of the style, all glass used in these covers must be tempered safety glass to ensure that it remains safe and durable under the weight of snow or the impact of falling debris.
How Does CWX Patio Covers Ensure Quality Installation in Surrey, BC?
CWX Patio Covers ensures quality installation in Surrey, BC, through expert craftsmanship by skilled professionals who handle every installation with precision and care. They have over 600 successful patio cover installations each year, which reflects their commitment to both functionality and visual appeal. This high volume of work has allowed their teams to master the nuances of installing glass systems on various home types and materials.
The company offers a 3-year warranty on installation labor, demonstrating confidence in their work. This is a critical factor for homeowners, as the structural integrity of a glass cover depends entirely on how it is fastened to the existing building. A professional installation ensures that the seals are watertight, the drainage is clear, and the structure is fully compliant with local building codes and safety standards.
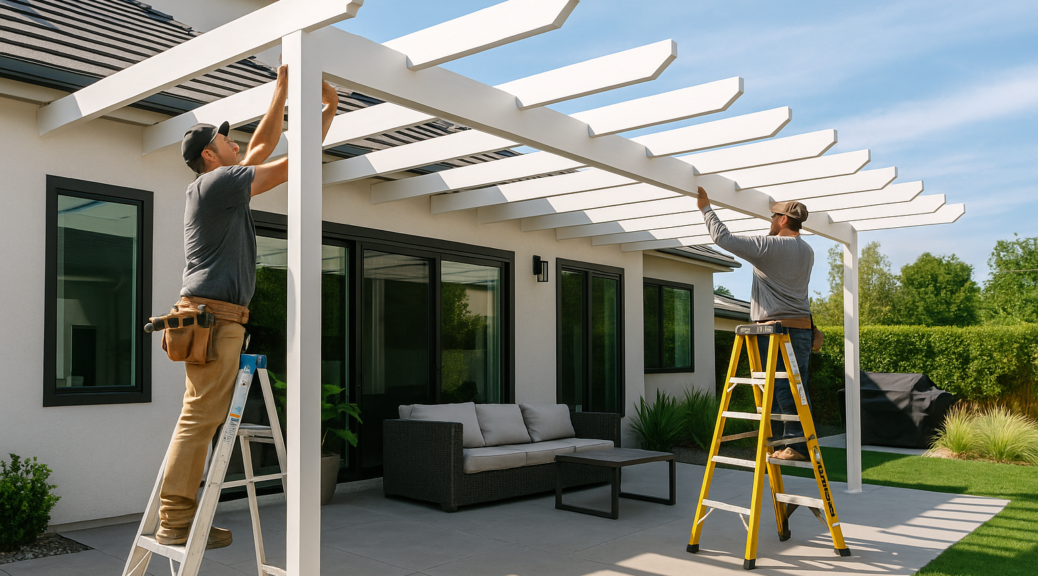
What Is the Installation Process for Outdoor Glass Canopies?
The installation process for outdoor glass canopies typically involves several key steps to ensure a perfect fit. First, a site assessment is conducted to determine the best design and placement for the patio cover, taking into account the home’s roofline and existing deck. During this phase, measurements are taken with extreme accuracy to allow for the custom fabrication of the frame and glass panels.
Next, the necessary materials are gathered, and the frame is constructed on-site. The frame must be perfectly level and securely anchored to the house and the patio floor to support the heavy glass. Finally, the glass panels are carefully installed using specialized equipment, ensuring a secure and aesthetically pleasing finish. This meticulous process guarantees that the patio cover is both functional and visually appealing for years to come.
What Guarantees and Customer Support Does CWX Provide?
CWX Patio Covers offers a comprehensive customer support system, ensuring that clients are satisfied with their installations from start to finish. The company provides substantial material and labor warranties, giving homeowners peace of mind regarding their investment. These guarantees are a testament to the high-quality aluminum and safety glass used in every project they undertake.
Additionally, the team is committed to addressing any concerns or questions that may arise during or after the installation process. Whether you need advice on cleaning your new glass roof or have questions about adding railings and fences to match your new cover, their local expertise is always available. This dedication to customer satisfaction has made them a trusted name in Surrey and across the Lower Mainland.
| Design Type | Features | Benefits |
| Frameless Glass Patio Covers | Sleek, modern design with no bulky frames | Unobstructed views and a minimalist aesthetic |
| Modern Glass Verandas | Structured aluminum frame with glass roof | Creates a versatile, permanent outdoor room |
| Aluminum Frames | Powder-coated, rust-resistant metal | Durable, low maintenance, and long-lasting |
| Tinted or Frosted Glass | UV-treated or opaque safety glass | Reduces glare, manages heat, and adds privacy |
Enhancing Your Home with Professional Glass Solutions
The variety of designs and materials available for glass patio covers allows homeowners to create a personalized outdoor space that meets their needs while enhancing the beauty of their property. By choosing a high-quality glass system, you are essentially adding a new room to your home that can be enjoyed regardless of the weather. The visual impact of a glass structure is undeniable, providing a level of sophistication that few other home improvements can match.
Ultimately, the goal of adding a glass cover is to improve your lifestyle. By creating a bright, dry, and beautiful space, you encourage your family to spend more time outdoors, enjoying the fresh air and natural surroundings. With the expert help of a specialized team, you can design a solution that fits your budget and your vision, ensuring that your patio remains the favorite part of your home for decades.
Investing in these structures is a long-term commitment to quality living. Whether you are looking for a simple canopy to keep your front door dry or a massive glass veranda for entertaining, the benefits of natural light and weather protection are clear. By focusing on durable materials and professional installation, you ensure that your outdoor space is ready for whatever the BC weather has in store.
Frequently Asked Questions (FAQ)
What kind of glass is used for patio covers?
All high-quality glass patio covers use tempered safety glass, which is significantly stronger than standard window glass. This type of glass is designed to crumble into small, dull pieces rather than sharp shards if it ever breaks, ensuring maximum safety for your family and guests.
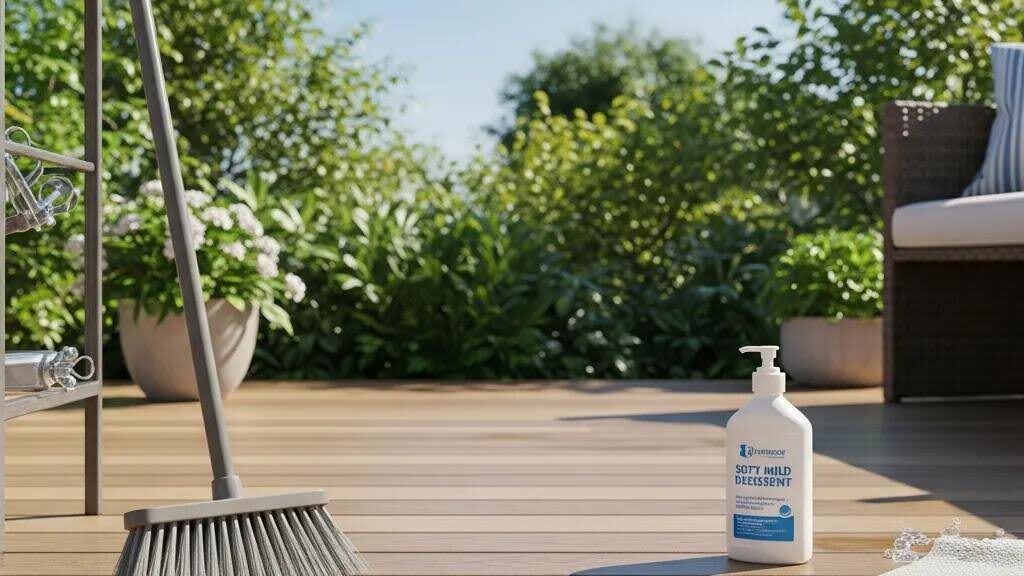
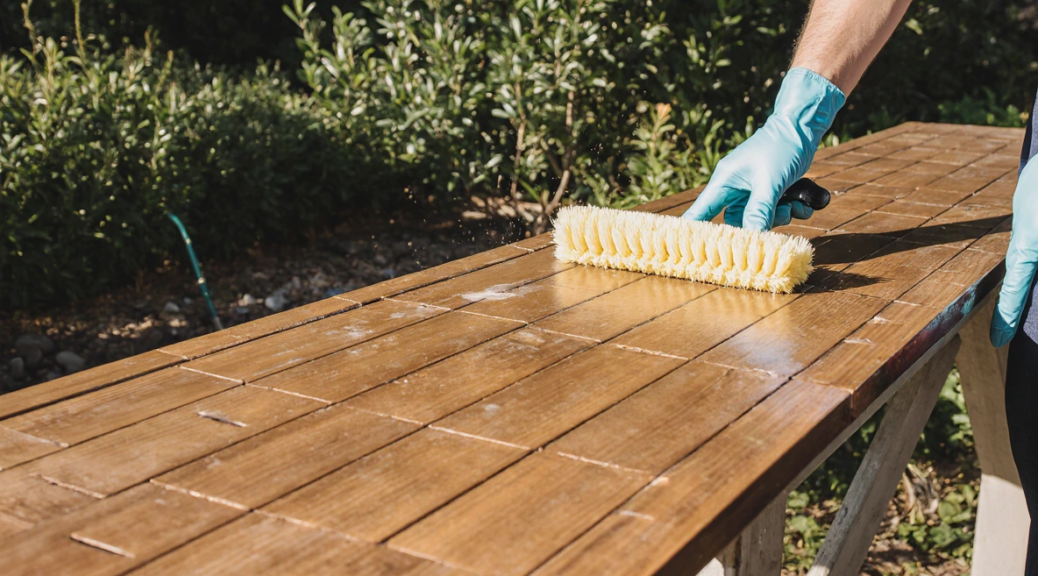
How do I clean and maintain my glass patio cover?
Maintenance is relatively simple and involves regular rinsing with a garden hose to remove dust and debris. For a deeper clean, you can use a soft mop with mild soap and water once or twice a year to maintain the glass’s clarity and the frame’s finish.
Will a glass cover make my patio too hot in the summer?
While glass allows light through, you can opt for tinted or reflective glass to manage heat gain. These treatments help reflect a portion of the sun’s thermal energy, keeping the space beneath the cover comfortable even during the peak of summer in the Lower Mainland.
Can glass patio covers handle heavy snow loads in BC?
Yes, professional-grade glass covers are engineered to meet the specific snow load requirements of the BC Building Code. The thickness of the glass and the strength of the aluminum frame are calculated to ensure the structure remains safe and stable even during heavy winter snowfalls.
Do I need a permit to install a glass patio cover in Surrey?
Most permanent structures, including glass patio covers, require a building permit in Surrey and other Lower Mainland municipalities. A professional installer will typically help with the necessary drawings and documentation to ensure your project complies with all local regulations.