Installing a patio cover can significantly enhance your outdoor living experience, especially in a region like Maple Ridge, BC, where weather conditions can be highly unpredictable. From the heavy rainfall of the autumn months to the intense summer sun reflecting off the Golden Ears mountains, a structural roof is a necessity for any functional backyard.
This article will explore the benefits of patio covers, the specific types available for local architecture, and how experienced contractors ensure quality installations that stand the test of time.
By understanding these technical and aesthetic aspects, homeowners can make informed decisions that elevate their outdoor spaces into year-round retreats. Many residents seek solutions to protect their patios from the elements while simultaneously adding significant curb appeal and market value to their homes.
This guide covers the advantages of professional installations, the best material choices for the local climate, and the necessary permit requirements to ensure your project remains compliant with municipal standards.
Key Takeaways
- Year-Round Usability – Professional patio covers allow Maple Ridge residents to enjoy their outdoor spaces regardless of the frequent rain or intense summer heat.
- Aluminum Durability – High-grade aluminum is the preferred material for the Lower Mainland due to its resistance to rust, rot, and heavy snow loads.
- Expert Craftsmanship – Hiring specialized contractors ensures that your cover is structurally sound and aesthetically integrated with your home’s design.
- Increased Property Value – A custom-designed patio cover serves as a high-end home upgrade that attracts potential buyers and increases usable square footage.
- Warranty Protection – Quality contractors like CWX Patio Covers provide a 10-year material warranty and a 3-year labor guarantee for total peace of mind.
- Permit Compliance – Experienced local teams navigate the Maple Ridge building permit process to ensure your structure meets all safety and zoning codes.
- Custom Design Flexibility – From glass to insulated panels, homeowners can tailor their covers to match their specific lifestyle and privacy needs.
What Are the Benefits of Installing a Patio Cover in Maple Ridge?
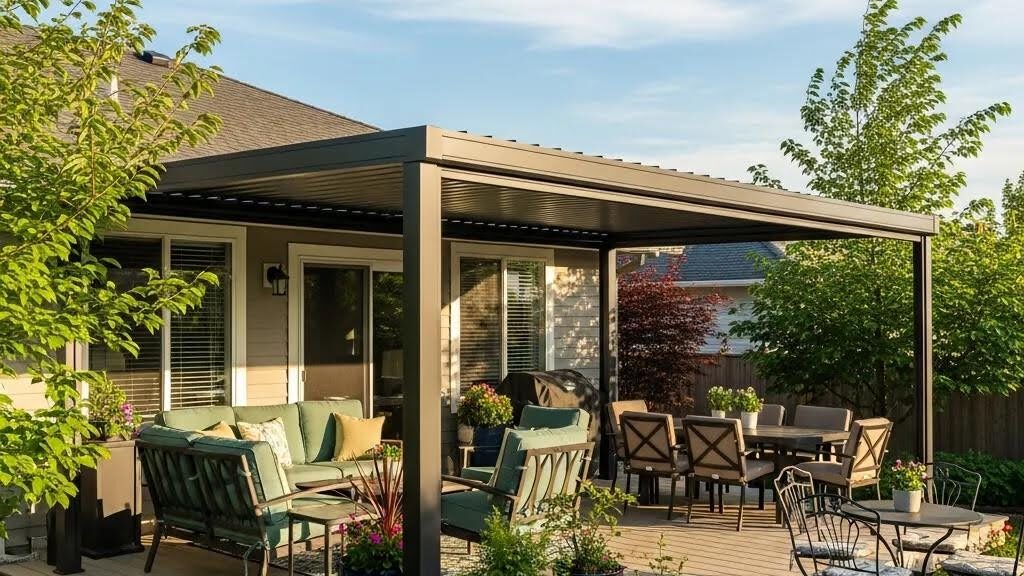
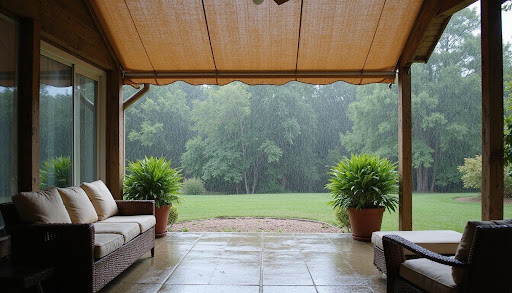
The benefits of installing a patio cover in Maple Ridge include increased protection against diverse weather conditions and a marked improvement in the enjoyment of outdoor spaces. Because the region experiences high precipitation, an uncovered deck often remains unusable for a large portion of the year.
By adding a permanent roof, you effectively create a new room that remains dry and comfortable during a classic West Coast downpour.
Beyond simple rain protection, a well-designed cover acts as a shield against the sun’s harsh UV rays during the peak of summer. This is particularly important for north and west-facing backyards that can become uncomfortably hot in the late afternoon. By regulating the temperature of the patio, you also help keep the interior of your home cooler, potentially reducing your reliance on air conditioning during heatwaves.
Furthermore, the expert craftsmanship provided by skilled professionals ensures that these structures add a layer of sophistication to your property. When you choose a reputable contractor, you aren’t just getting a roof; you are getting a custom-engineered solution designed for longevity and reliability.
With the right materials, your patio cover becomes a maintenance-free asset that preserves your outdoor furniture and vinyl deck for decades.
How Do Patio Covers Enhance Outdoor Living Spaces?
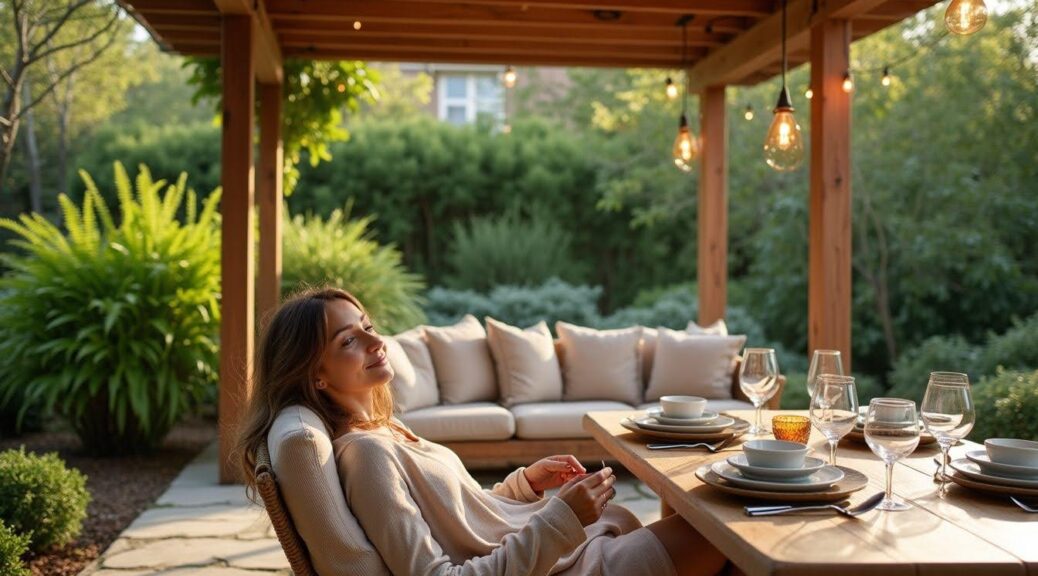
Patio covers enhance outdoor living spaces by providing a consistent environment for relaxation and entertainment throughout the seasons. They transform an exposed, weather-dependent area into a stable outdoor lounge where you can host gatherings without checking the forecast. This stability is the key to a high-quality outdoor vibe, allowing you to invest in premium furniture and electronics like outdoor televisions or speakers.
The presence of a structural cover also encourages a more active outdoor lifestyle for the whole family. Whether it’s providing a dry place for children to play or a shaded spot for a home office, the versatility of the space is greatly expanded.
These structures bridge the gap between your indoor comforts and the beauty of your backyard, fostering a seamless transition that makes your entire property feel larger.
Expert craftsmanship ensures that these additions are not just functional, but also visually appealing focal points for your landscape. A cover that is designed to complement your home’s siding, trim, and railings and fences creates a cohesive look that screams quality. This attention to detail is what separates a professional installation from a generic, DIY-style kit.
What Weather Protection Do Patio Covers Provide in Maple Ridge?
Patio covers in Maple Ridge provide critical protection from the diverse and often harsh weather conditions typical of the Fraser Valley. They are built from high-quality materials like architectural-grade aluminum and tempered glass, ensuring they can withstand heavy snow loads and high wind gusts. This durability is essential for preserving the structural integrity of your home’s exterior and any attached decking.
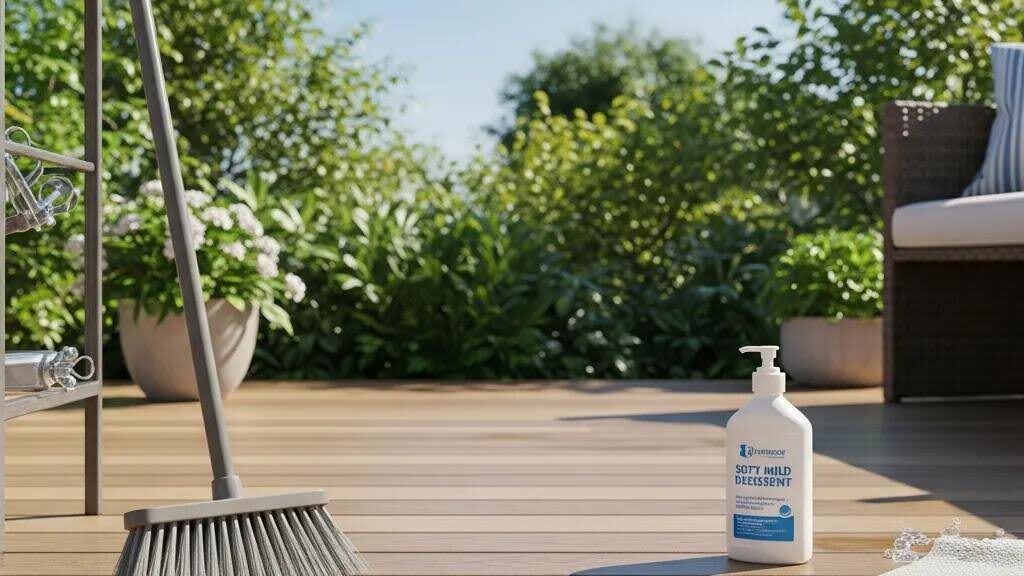
This protection also extends to the lifespan of your outdoor assets, such as expensive grills, patio sets, and vinyl deck membranes. Continuous exposure to rain and sun can cause materials to warp, fade, or grow mold over time, leading to costly repairs. A cover interrupts this cycle of damage, keeping your investments in pristine condition and reducing the time you spend on seasonal cleaning.
By creating a dry microclimate, patio covers also prevent the “slip hazard” that often occurs on wet wooden or composite decks. This makes the outdoor area safer for seniors and children during the rainy season, which in Maple Ridge can last for several months.
Having a reliable, dry surface allows you to maintain your outdoor routines, such as morning yoga or evening relaxation, without interruption.
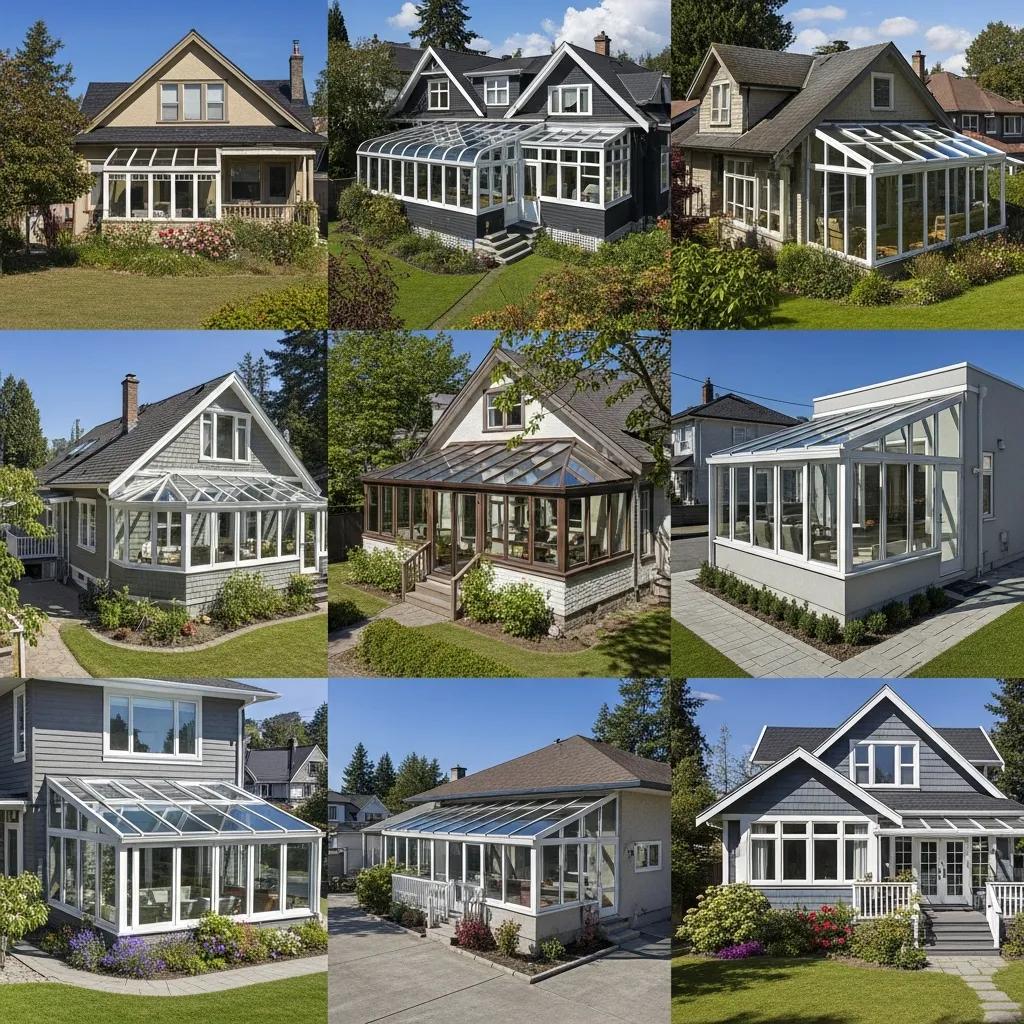
Which Types of Patio Covers Are Best for Maple Ridge Homes?
When considering patio covers for homes in Maple Ridge, several types stand out due to their suitability for the local weather and common architectural styles. The choice often depends on whether you prioritize maximum light, total shade, or architectural flexibility.
Each material offers a different set of benefits that should be weighed against your specific backyard goals.
Modern homeowners in the region are increasingly moving toward materials that require zero maintenance. Because Maple Ridge is surrounded by lush vegetation and high humidity, organic materials like wood can be prone to rot and insect damage if not treated annually. Consequently, aluminum and glass have become the gold standards for local installations due to their “set it and forget it” nature.
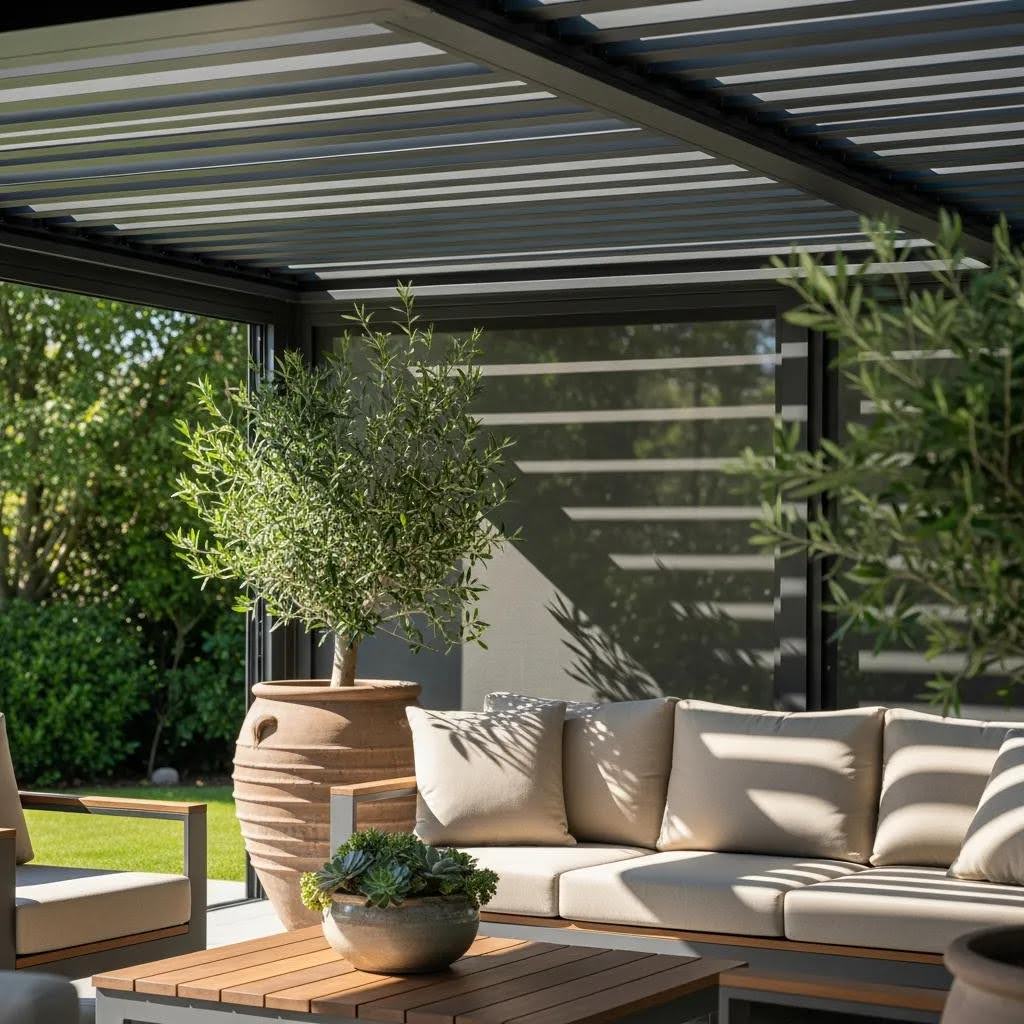
What Are the Advantages of Aluminum Patio Covers?
The advantages of aluminum patio covers include extreme durability and the ability to withstand the diverse weather conditions of British Columbia without rusting. These systems are specifically engineered to handle the heavy, wet snow that occasionally blankets Maple Ridge, providing a level of safety that light-weight awnings cannot match.
Aluminum is naturally resistant to corrosion, making it an ideal long-term investment for the damp West Coast environment.
Furthermore, aluminum covers are crafted with expert precision, ensuring that the final structure is both functional and visually appealing. They can be powder-coated in various contemporary colors to match your home’s existing aesthetic, providing a sleek and modern vibe. Because they are low-maintenance, you will never need to sand, stain, or paint the structure, allowing you more time to enjoy your space.
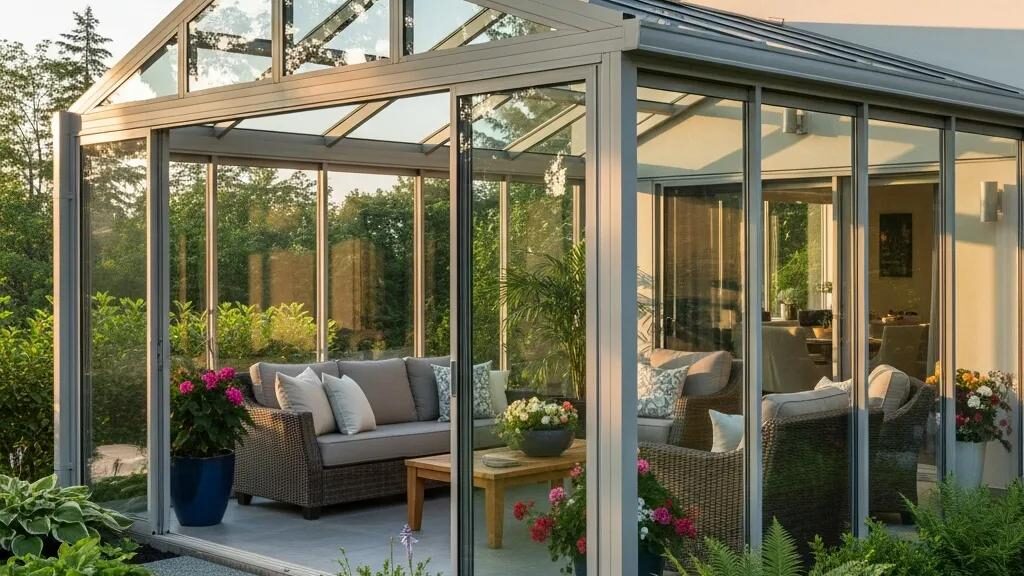
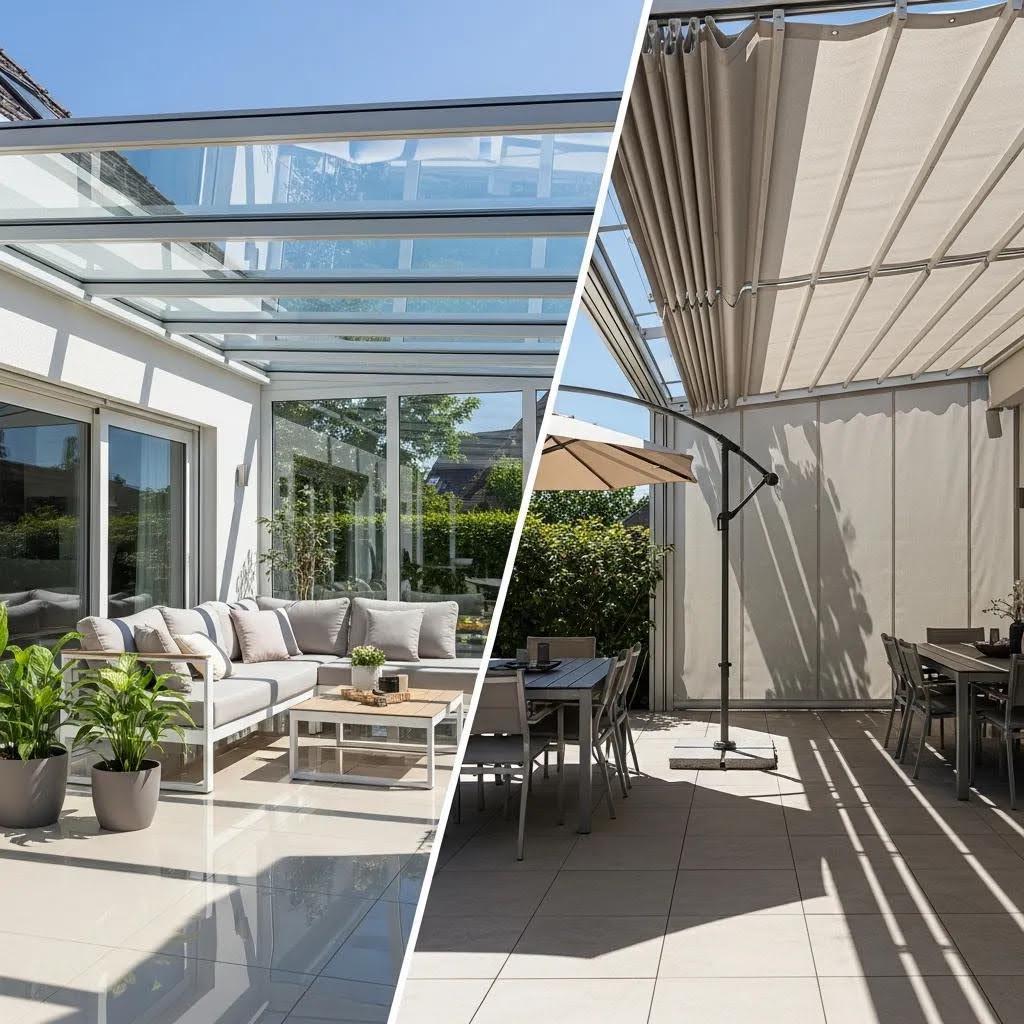
How Do Glass and Retractable Patio Covers Compare?

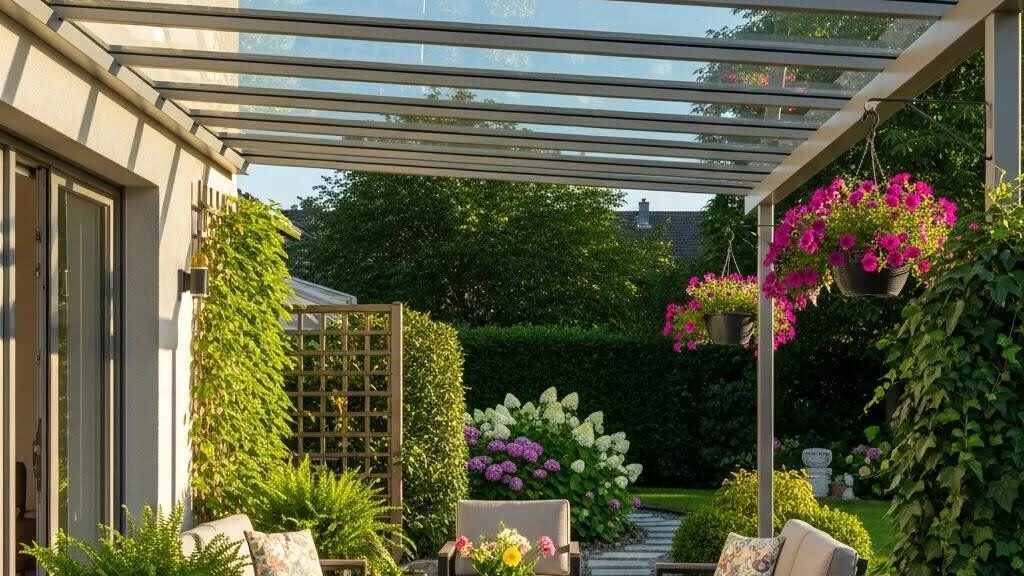
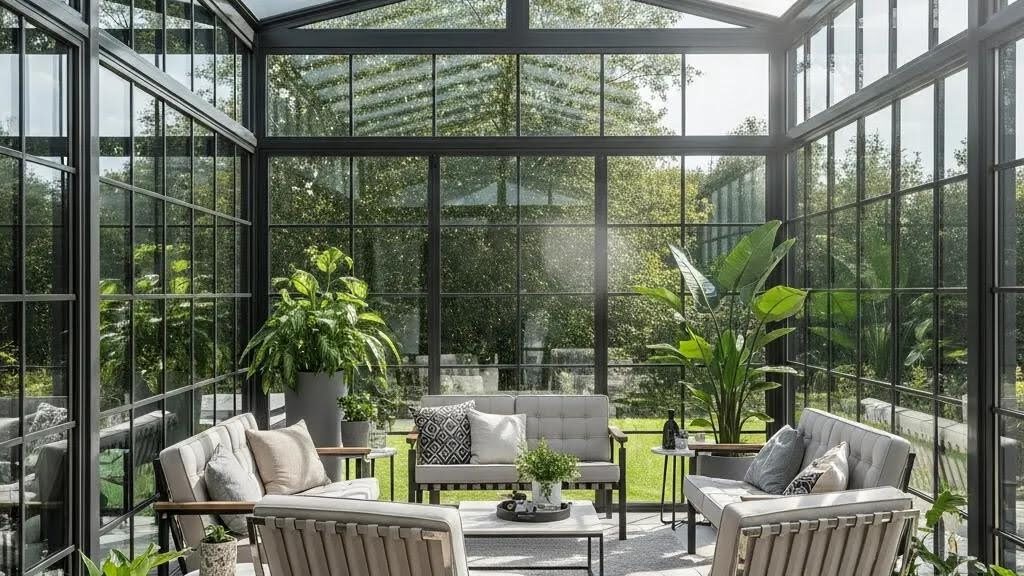
Glass patio covers offer a sleek, modern look while allowing natural light to filter through, which is a major advantage during the shorter days of winter. This keeps the interior of your home bright even when the patio is covered, creating an open and airy feel that many homeowners love.
While they require occasional cleaning to maintain their clarity, the aesthetic payoff of a glass roof is often considered superior for high-end properties.
Retractable patio covers, on the other hand, provide the ultimate flexibility by allowing you to adjust the amount of sunlight or shade on demand. These are excellent for homeowners who want to enjoy the full sun on clear days but need quick protection when the clouds roll in.
Both options have unique benefits, and the choice often depends on your personal preference and how you intend to use your outdoor space.
How Do Experienced Patio Cover Contractors Ensure Quality?
Experienced patio cover contractors ensure quality by using premium materials designed for the high-impact environment of the Pacific Northwest. They offer substantial material and labor guarantees that reflect their confidence in the products they install.
This professional oversight is crucial, as the connection between the cover and your home must be perfectly sealed to prevent leaks and structural rot.
Skilled professionals also bring a level of precision to the installation that ensures the drainage system is properly pitched and integrated. In a high-rainfall area like Maple Ridge, a poorly installed gutter system can lead to water backing up into your home’s fascia or pooling near the foundation.
Professional contractors avoid these pitfalls by conducting a thorough site assessment before any construction begins.
What Material and Labor Warranties Does CWX Patio Covers Offer?
CWX Patio Covers and railings provides a 10-year material warranty and a 3-year labor warranty, ensuring that clients receive high-quality products and services. This commitment to quality gives homeowners peace of mind, knowing that their investment is protected against manufacturing defects and installation errors. Such warranties are a hallmark of an established contractor that stands behind their craftsmanship.
When investing in a permanent home upgrade, these guarantees are as important as the materials themselves. They ensure that if a seal fails or a component shows premature wear, the cost of repair is covered.
This level of support is why many Maple Ridge residents choose local experts over general handymen or DIY solutions that offer no long-term protection.
| Type of Patio Cover |
Advantages |
Disadvantages |
| Aluminum |
Durable, rust-resistant, and requires zero maintenance. |
Blocks most natural light from entering the home. |
| Glass |
Modern aesthetic, maximizes light, and offers high visibility. |
Requires periodic cleaning to remove debris and spots. |
| Insulated |
Reduces rain noise and keeps the area cooler in summer. |
Heavier structure requires more robust support posts. |
| Retractable |
Provides total flexibility between sun and shade. |
More mechanical parts that may require future service. |
Why Choose Local Maple Ridge Contractors for Installation?
Choosing local contractors for your installation offers several distinct advantages, starting with their deep understanding of the British Columbia building code. Local teams are familiar with the specific snow load and wind speed requirements for the Fraser Valley, ensuring your cover is engineered for safety.
This local knowledge prevents the structural failures that can occur with generic, one-size-fits-all products.
Furthermore, local contractors often have established relationships with municipal permit offices, which can streamline the approval process. Supporting the local economy also fosters community relationships, ensuring that your contractor is easily reachable should you need future upgrades or maintenance.
Skilled professionals with a track record of numerous successful installations in your neighborhood are more likely to deliver a finished product that matches the local aesthetic vibe.
Do You Need a Building Permit for Patio Covers in Maple Ridge?
Yes, a building permit is typically required for any permanent patio cover installation in Maple Ridge. Homeowners must ensure their project complies with local zoning laws, setback requirements, and building codes to avoid potential fines.
A permit ensures that the structure is safe, properly anchored, and won’t negatively impact your neighbors’ property or the city’s drainage systems.
Experienced contractors like CWX Patio Covers handle the technical side of the permitting process, providing the necessary drawings and site plans. This service is invaluable, as navigating city hall can be a time-consuming and confusing task for the average homeowner.
Ensuring your project is “by the book” also protects your home’s resale value, as unpermitted structures can cause significant issues during a real estate transaction.
What Steps Are Involved in Professional Patio Cover Installation?
The professional installation process is a structured journey designed to ensure a smooth transition from your initial idea to a finished sanctuary. It begins with a comprehensive consultation where you discuss your vision, material preferences, and budget with a design expert.
This stage often includes a detailed site plan to help you see how the new cover will integrate with your existing railings and fences.
Once the design is finalized and permits are secured, the site preparation begins, which may include reinforcing your deck or pouring new concrete footings. Skilled professionals then construct the frame and install the roofing panels with surgical precision, ensuring all flashings are watertight.
A final inspection is always conducted to verify that the structure meets all quality standards before the project is handed over to the homeowner.
Creating Your Ideal Outdoor Sanctuary in the Fraser Valley
The variety of designs and materials available for patio covers allows homeowners to create a personalized outdoor space that meets their unique needs while enhancing their property. Whether you are looking for a simple aluminum shelter or a complex glass veranda, the goal is to create a space that feels like a natural extension of your home.
By focusing on quality materials and professional installation, you ensure that your outdoor area is ready for whatever the climate throws your way.
Ultimately, the best patio cover is one that matches your lifestyle and provides a worry-free environment for making memories. In Maple Ridge, where the beauty of nature is all around us, having a comfortable place to observe it, even when it’s raining, is a true luxury.
By partnering with experienced contractors, you can turn your backyard into a sophisticated, all-weather haven that you will enjoy for decades to come.
Investing in these structures is a commitment to both your home’s value and your personal well-being. A bright, dry, and protected patio encourages you to step outside more often and enjoy the fresh air of the valley.
With the right design and a team of experts at your side, your dream of a perfect outdoor living space is well within reach.
Frequently Asked Questions (FAQ)
How long does a typical patio cover installation take?
Once the design is finalized and the materials are fabricated, most professional installations take between two to four days. The timeline can vary depending on the complexity of the design and whether any additional work, such as new vinyl deck installation, is required.
Can I install a patio cover myself?
While DIY kits are available, professional installation is highly recommended for permanent structures. A contractor ensures the cover is properly tied into your home’s roofline and can withstand local snow loads, which is critical for safety and meeting building code requirements.
Does an aluminum patio cover require a lot of maintenance?
Aluminum is one of the lowest-maintenance materials available. It does not rust, rot, or warp, so it never needs painting or staining. An occasional rinse with a garden hose to remove pollen or dust is usually all that is needed to keep it looking new.
Will a patio cover make the inside of my house dark?
If you are concerned about losing natural light, a glass patio cover is the best option. It provides full weather protection while allowing sunlight to flood your interior rooms. For aluminum covers, strategically placed skylights can also be integrated to maintain brightness.
Are there color options for aluminum patio covers?
Yes, modern aluminum covers come in a variety of powder-coated finishes, including popular shades like white, black, sand, and charcoal. This allows you to perfectly match the structure to your home’s existing color scheme and vibe.